NB: the Nexus 4 only supports LTE on the AWS band (1700 or 2100MHz), which is currently used for LTE networks in Canada, and for some areas served by T-Mobile’s fledgling 4G network.
Step 1
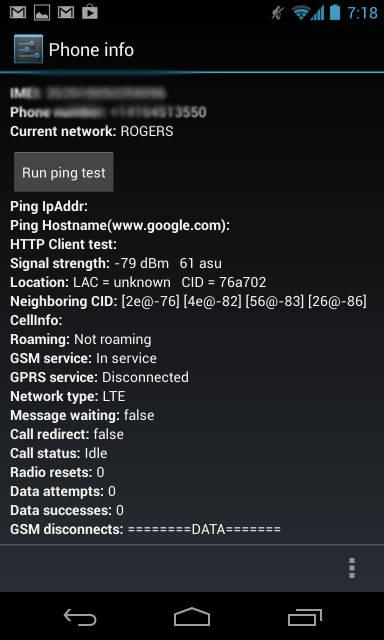
Access Phone Testing Settings
Open your phone app, and type in *#*#4636#*#*, which will instantly take you to the necessary preference panel seen below.
OR
You can also download and install the Phone Info app from Google Play here if you’d rather not have to re-enter that sequence every time you want to change these settings.
Step 2
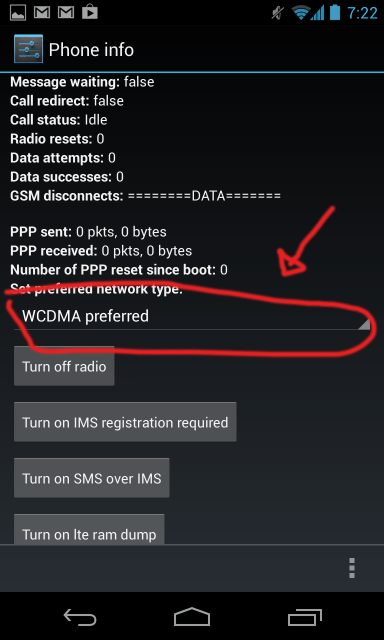
Change Your Phone’s Cellular Network Type
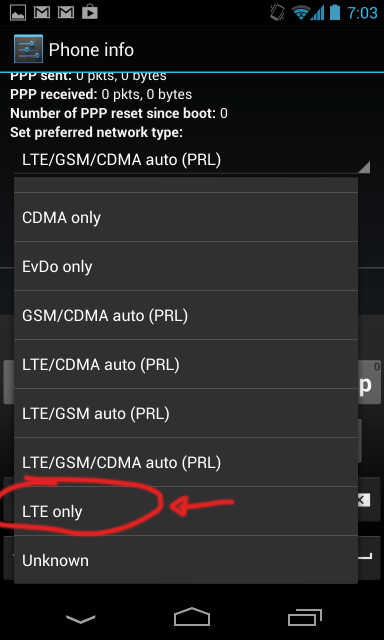
Switch which networks your phone connects to under the “Preferred Network Type” drop-down menu. There are options for various combinations of CDMA, GSM, LTE and more.
Set your preferred network to “LTE only.” Using the options that auto-select between LTE, GSM and CDMA seemed to just cause the phone to default back to HSDPA+ speeds where available.
Step 3
Change Your APN Settings
Scroll down through Settings, Mobile Networks, Access Point Names and change your APN Settings.
Visit the XDA Developers forum for list of APNs settings depending on your mobile network.
Step 4
Enjoy The LTE Speed
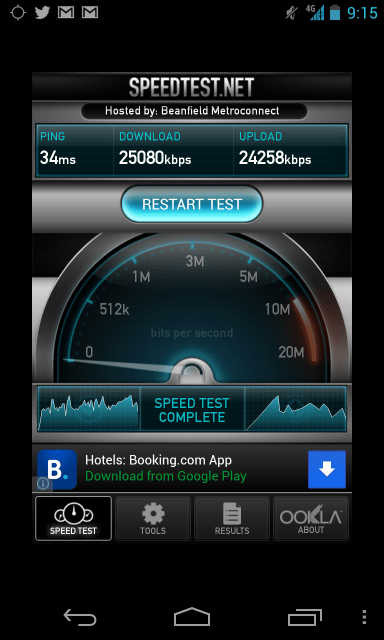
After you’ve changed that radio setting, your phone should disconnect from the network, and then reconnect with LTE speeds.
Here is a shoot from Speedtest.net
HSPA+
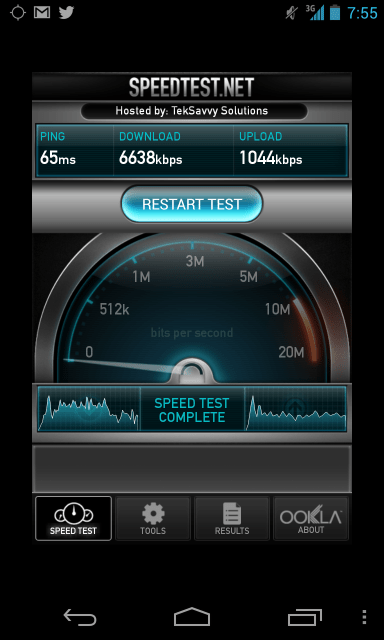
LTE
if you like this post, don't forget to share, comment and follow us on twitter for more like this...
No comments:
Post a Comment